Welcome to Ned2/Ned3pro ROS Stack’s documentation!
This documentation contains everything you need to understand the robot’s functioning and how to control it through ROS.
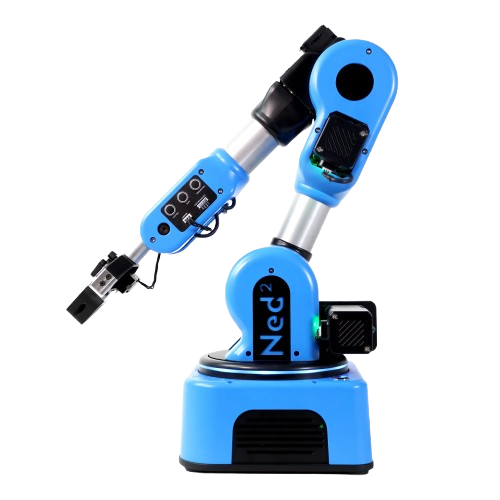
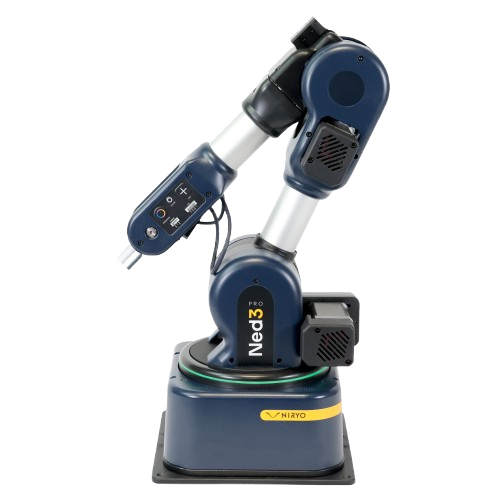
It is made as well for users who are using the “physical” robot as for those who want to use a virtual version.
Preamble
Before diving into the software’s documentation, you can learn more about the robot development in the Overview section.
Then, you should check the Getting started section to setup your environment and try out the stack by yourself. If you don’t have a real robot at your disposal, you can still simulate it via the Use the robot through simulation section.
Ned robot Control via ROS
Ned robots are fully based on ROS.
ROS Direct control
Important
To control the robot directly with ROS, you will need either to be connected in SSH to the physical robot, or to use the simulation.
ROS is the most direct way to control the robot. It allows you to:
Send commands via the terminal in order to call services, trigger actions, …
Write an entire Python/C++ node to realize a full process.
See ROS section to see all Topic & Services available.
Python ROS Wrapper
Important
To use Python ROS Wrapper, you will need either to be connected in SSH to the physical robot, or to use the simulation.
The Python ROS Wrapper is built on top of ROS to allow a faster development than ROS. Programs are run directly on the robot which allows to trigger them with the robot’s button once a computer is no longer needed.
See Python ROS Wrapper to see which functions are accessible and examples on how to use them.
Installation
Packages
- Overview
- Common interfaces
- High Level Packages
- Niryo robot bringup
- Niryo robot arm commander
- Niryo robot description
- Niryo robot gazebo
- Niryo robot modbus
- Niryo robot poses handlers
- Niryo robot programs manager
- Niryo robot programs manager v2
- Niryo robot rpi
- Niryo robot sound
- Niryo robot status
- Niryo robot tools commander
- Niryo robot user interface
- Niryo robot vision
- Niryo robot led ring
- Niryo robot database
- Low Level Packages
- Third Parties
- Control with Python ROS Wrapper
To go further...
Changelog